
Creating custom plaster figurines is a fun hands-on craft activity perfect for birthday parties, family weekend projects, classroom art lessons or small handmade gifts. Whether you are a beginner trying plaster casting for the first time or planning a group craft event, this simple tutorial will walk you through the whole process from mixing plaster powder to sealing your finished painted doll.
What You Will Need
Before you start casting, gather all required supplies: plastic measuring cup, plaster powder, mixing spoon, silicone doll mold, craft paints, paintbrushes, sandpaper strips and clear protective varnish.
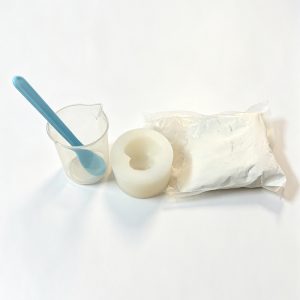
Prepare your workspace: lay down a protective mat on the table to catch spills and plaster dust. Work in a well-ventilated area and avoid breathing in fine plaster powder. Adult supervision is strongly recommended when children join this craft project.
Step 1: Mix Plaster Powder and Water
The recommended mixing ratio of plaster powder to water is 2:1. Pour powder and water into your measuring cup, then stir thoroughly.
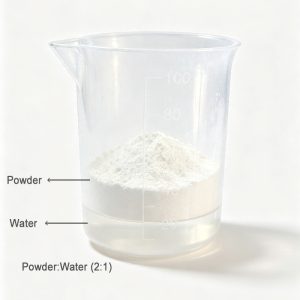
!!!Keep in mind: do not stir the mixture for an extended period. Plaster reacts quickly, and the slurry will turn thick rapidly. Over-stirring may lead to lumps and ruin your casting effect.
Step 2: Pour Plaster Slurry Into Silicone Mold
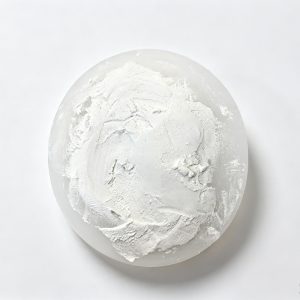
Slowly pour the well-mixed plaster liquid into your silicone mold. Pour gently to reduce air bubbles trapped inside. Once poured, leave the mold undisturbed to cure. The plaster will fully harden in approximately 60 minutes. Do not move or shake the mold during curing, or your plaster doll may form defects.
Step 3: Demold the Blank Plaster Figurine
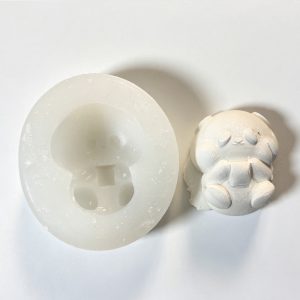
After the plaster is completely cured, you can carefully peel back the silicone mold and take out your white plaster doll.
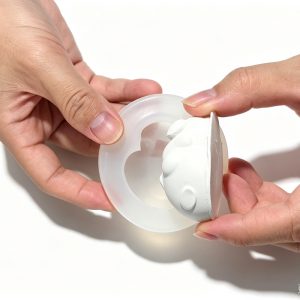
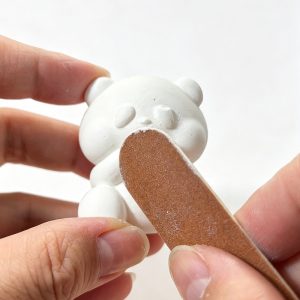
Freshly cast plaster pieces often have rough edges and extra flashing. Grab sanding strips to trim and sand away excess burrs around the outline. Wipe off loose plaster dust from the surface when sanding is done, this gives you a smooth blank ready for painting.
Step 4: Hand Paint Your Plaster Doll
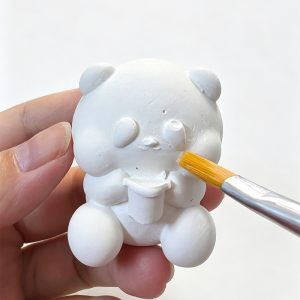
Now comes the most creative part! Use craft paint and paintbrushes to decorate your blank plaster figurine. There is no fixed pattern, you can freely design colors, facial expressions and outfits according to your preference.
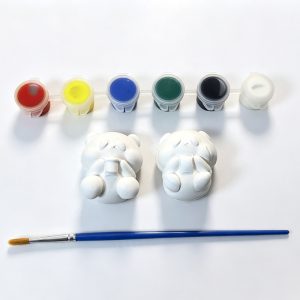
Apply paint in thin layers instead of one thick coat, which helps prevent paint cracking. Allow each layer to dry before adding more details.
Step 5: Seal With Clear Varnish
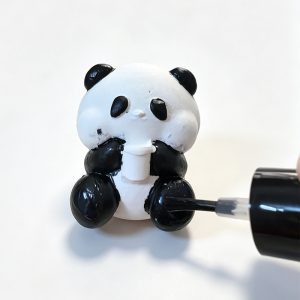
Once your paintwork is 100% dry, apply a thin coat of clear varnish over the entire plaster doll. The varnish protects the painted surface from scratches and smudges, and adds a nice glossy finish. Leave it to dry fully.
Finally
DIY plaster doll casting is a simple yet rewarding craft. These plaster blanks are excellent choices for kids’ party activities, art workshops and retail craft kits. If you want bulk blank plaster dolls or silicone molds for your shop or party events, we also offer wholesale orders.
Pro Tips
1. Always measure powder and water accurately for consistent casting results.
2. Wear a simple mask while sanding to avoid inhaling plaster dust.
3. Keep leftover plaster powder sealed and stored in a dry place.