If you’ve been looking for a fun, low‑mess DIY project to enjoy on quiet weekends, for birthday party activities or simple after‑school fun with kids, pouring your own plaster bear figurine is such a wonderful choice. Many new hobbyers assume plaster casting is complicated, but once you get your kit ready, the whole process is surprisingly straightforward. I’m going to walk you through every step based on my own hands‑on experience.
Step1: Getting everything ready before you start
Before mixing any powder and water, take a minute to set up your workspace. Pick a flat, clean table surface. Lay out all items included in your DIY plaster casting kit: the silicone bear mold, plaster powder packet, measuring cup and wooden stirring stick.
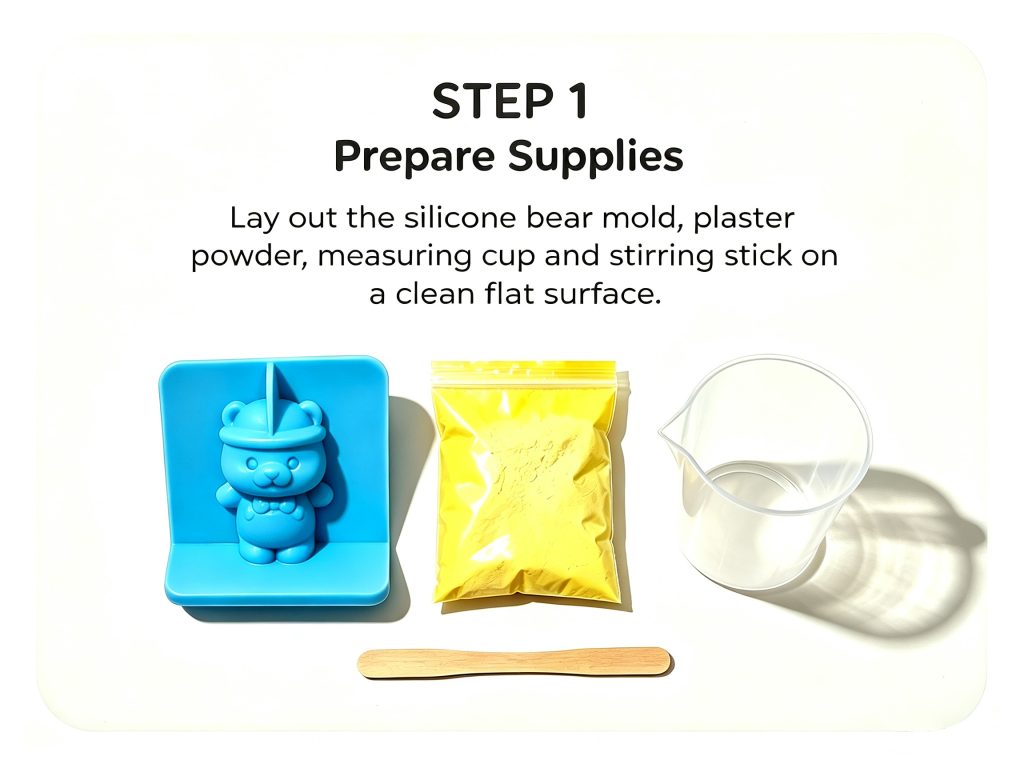
I would suggest protecting your table with a simple paper mat even though the material cleans up easily. It saves you from unexpected spills and makes cleanup much faster later on. Double‑check that your silicone mould is clean and dry before you begin, leftover dust can leave tiny bumps on your finished figurine.
Step2: Measure water to get the ratio right
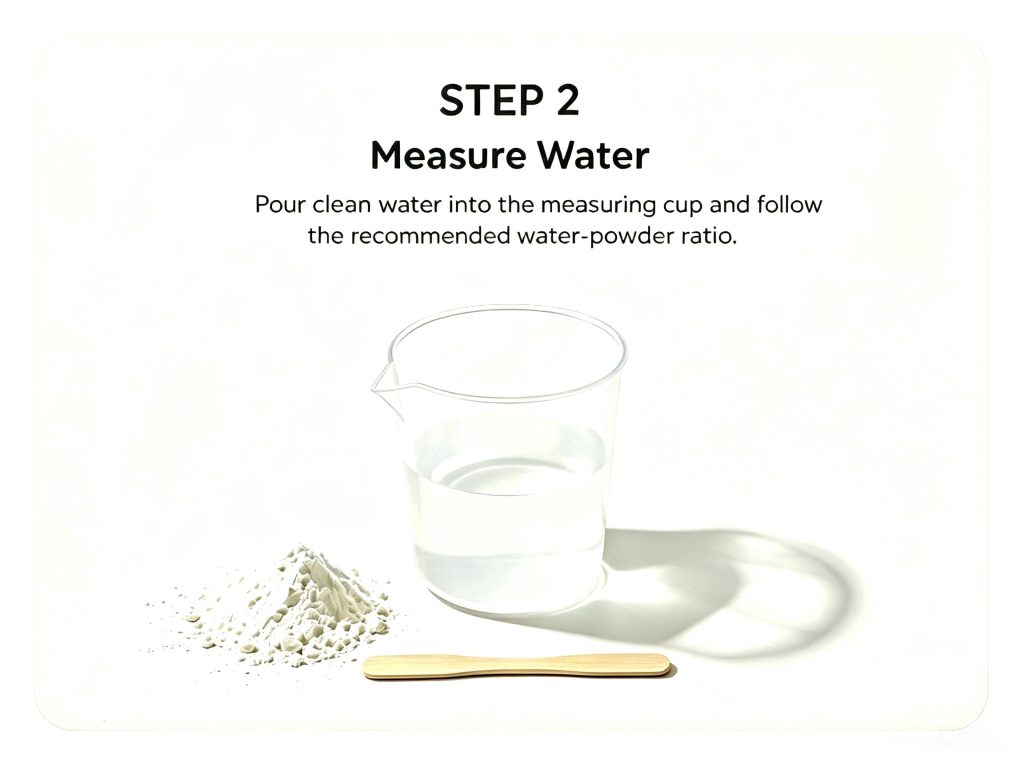
Getting the water‑to‑plaster powder balance correct is the most important tip I wish I knew on my first try. Grab your measuring cup and pour in clean room‑temperature water following the recommended ratio from your kit instructions.
Do not pour powder first into an empty cup. Always prepare water first. Starting with water helps avoid stubborn dry lumps that are hard to stir away. Cold or very hot water can change setting time, stick to regular tap water at room temperature for best results.
Step3: Mix your plaster smoothly
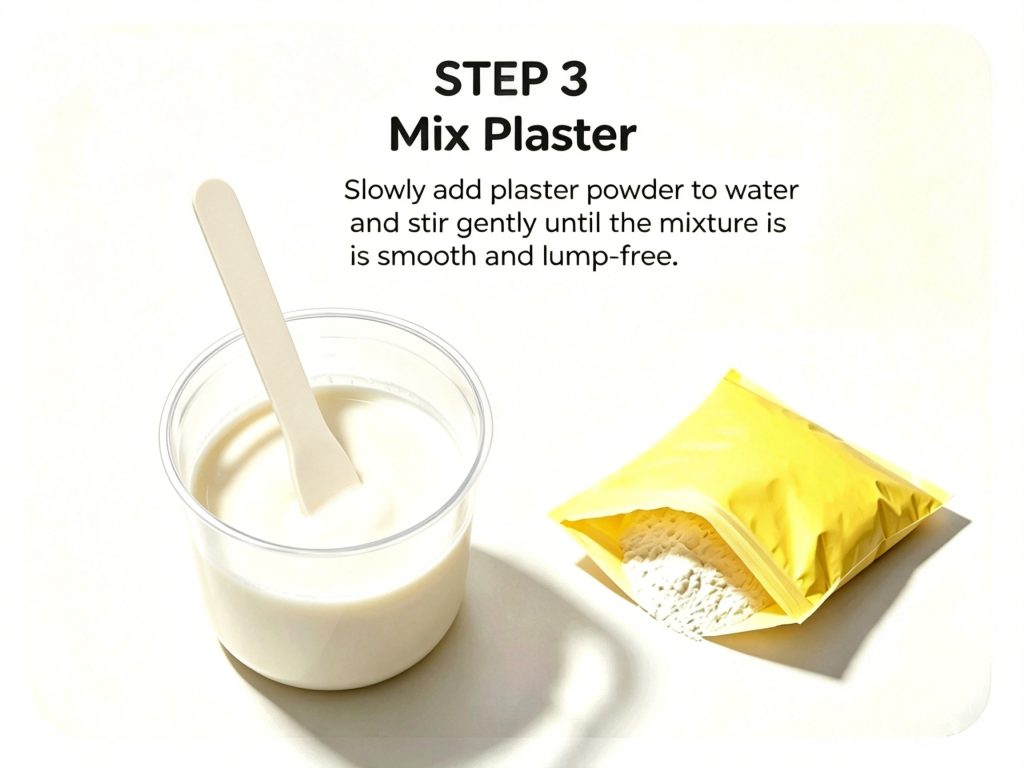
Now it’s time to combine powder and water. Slowly sift the plaster powder into your measured water, little by little. Grab the wooden stir stick and keep stirring gently but steadily.
Keep mixing until you reach a smooth, runny, lump‑free liquid consistency. Don’t rush this step! If you stop stirring too soon, small clumps will remain. Those clumps will create ugly marks or bubbles on your bear once cured. Also, do not over‑stir aggressively, fast stirring traps extra air inside the mixture. Slow and gentle wins here.
Step4: Pour the plaster liquid into silicone mould
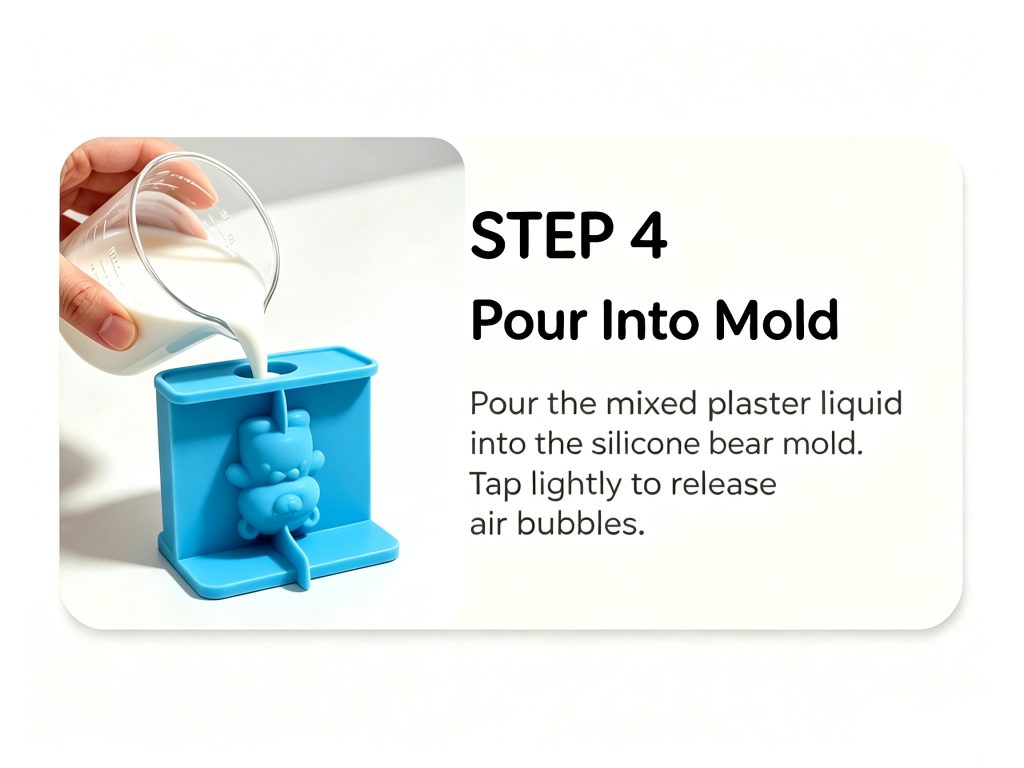
Carefully pick up your measuring cup and slowly pour the mixed plaster liquid into the opening of your silicone bear mould. Once you finish pouring, tap the sides of the mould lightly a few times against your tabletop.
This quick tapping step releases trapped air bubbles inside the wet plaster. Skipping this often leaves little bubble holes on the surface of your finished bear figurine. You do not need to shake it hard, gentle taps are more than enough. Fill up to the recommended level; overfilling will cause overflow once it starts to set.
Step5: Let it sit and fully cure
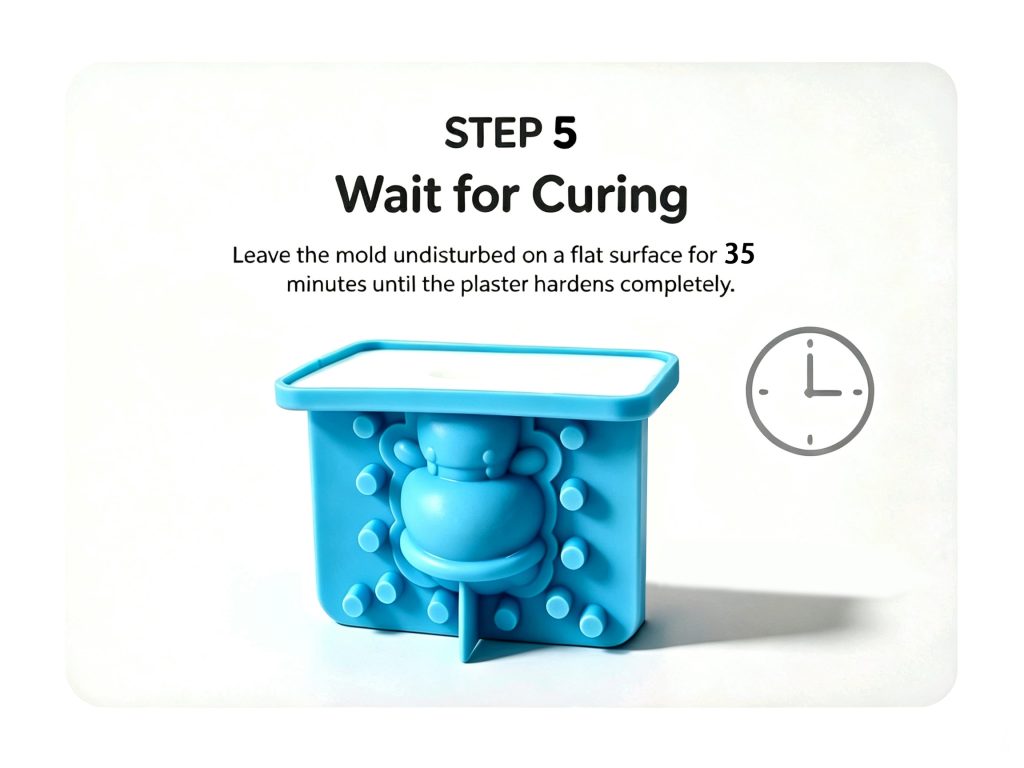
Now comes the waiting part! Place the filled mould back on your flat workspace and leave it completely still. Do not move, shake or pick up the mould during curing. Give it roughly 30-35 minutes to harden fully.
Keep in mind curing time can shift a little depending on room temperature. If your space is colder, you might want to wait an extra 10 minutes before demoulding. Trying to take it out too early will bend or break your soft plaster bear. It is better to wait a little longer than rush.
Step6: Demould your plain white plaster bear carefully
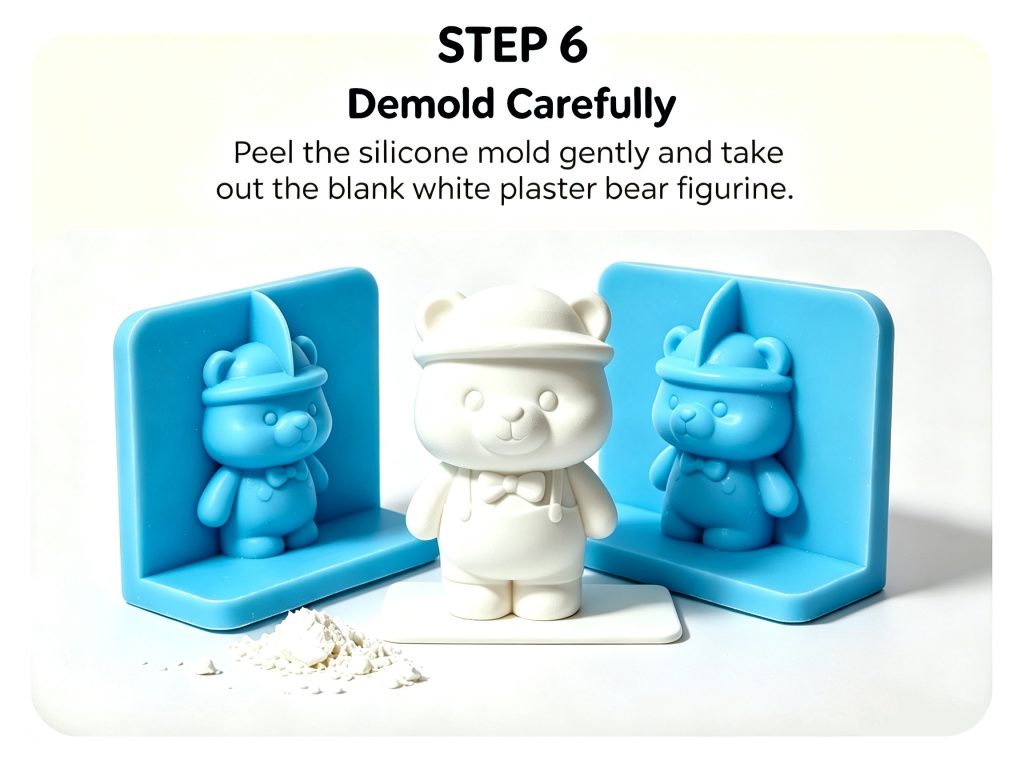
Once curing is done, you are ready for demoulding. Peel back the flexible silicone mould slowly and gently around every edge of the bear shape. Work your way around all sides gradually instead of yanking it out in one pull.
When you lift out your brand‑new blank plaster bear figurine, set it down softly. At this stage it is still a little fragile, so handle it with care. You can wipe away any small extra plaster edges if needed. You now have a plain blank bear ready for creative painting!
Step7: Time to paint and decorate your unique bear
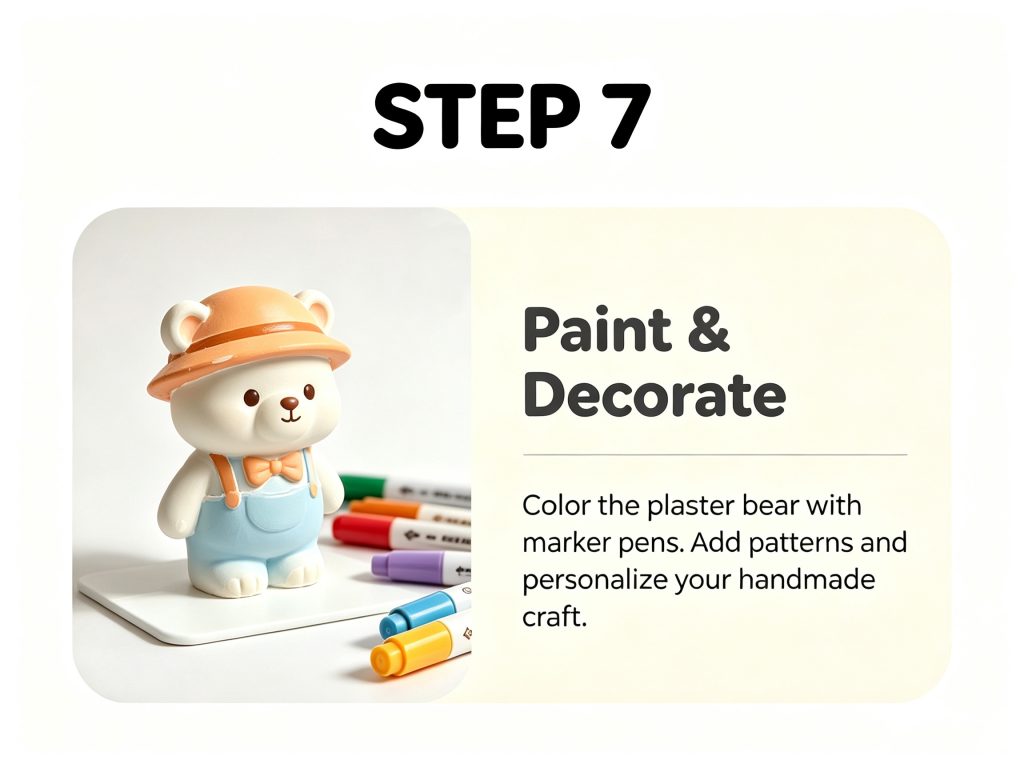
This is my favourite part of the whole project! Grab your marker pens and start adding colours to your plaster bear. You can keep it soft and cute with gentle pastel tones, or go bold with bright fun colours. Draw little patterns, decorate its hat and bow tie, create your very own one‑of‑a‑kind handmade character.
It is really satisfying seeing a plain white blank turn into a personalised little art piece. The finished plaster bear works great as desk decor, small handmade gifts for friends or party take‑home favours for guests.
Final
DIY plaster pouring is not only for kids. Plenty of adults enjoy this calming hands‑on craft as a nice break from screen time. You do not need prior crafting skills at all, just follow these simple steps and take your time.
If you are planning a group craft night or kid’s birthday party activity, these plaster bear casting kits are easy‑to‑prepare and keep everyone entertained. Once you finish your first bear, you will probably want to make more different designs and explore new colour combinations.